Idea of Project
|
|
|
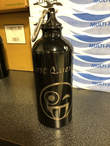
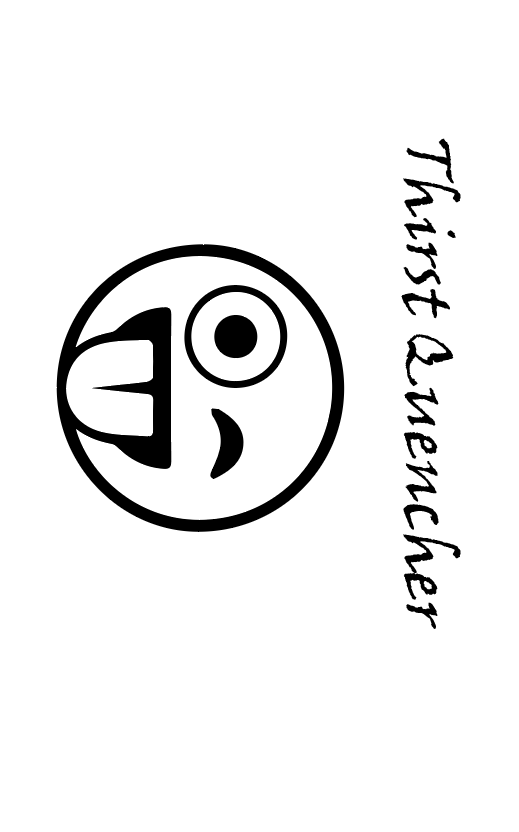
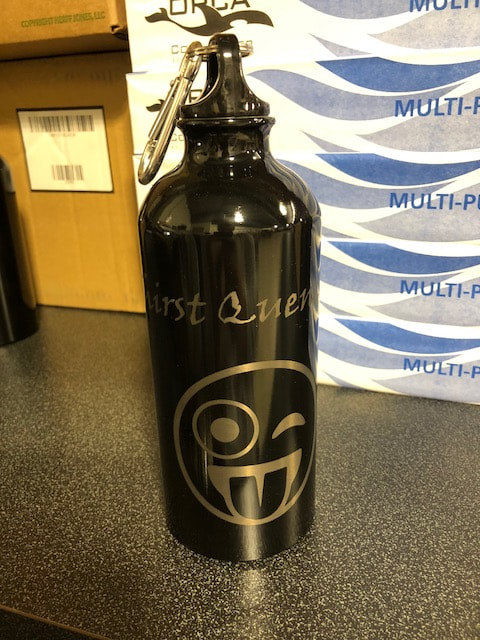
Water BottleThe idea for this water bottle was simple. I knew that I wanted to do an emoji. Once I knew that I went on my phone to see all the different types of emojis that there are. I saw this one and knew that it was the one that I was going to use. It was my most used one on my phone and my favorite one in general. Once I go the emoji picked I just had to come up with some words. I just had water on my mind and the time and thought of thirst quencher. So, I used it. Thats how the design of my water bottle came to be.
|
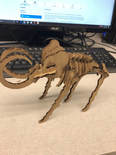
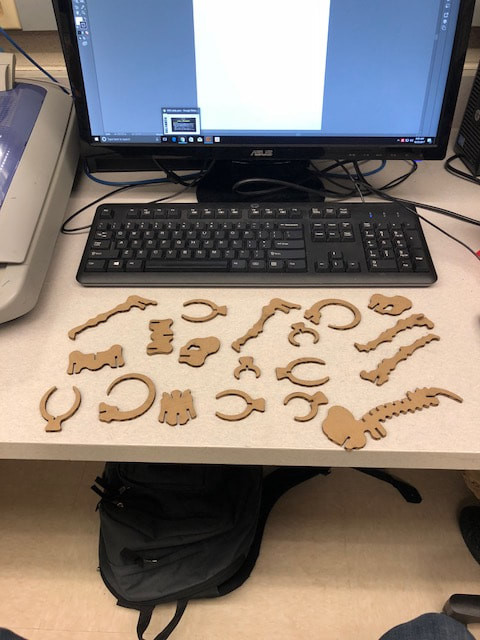
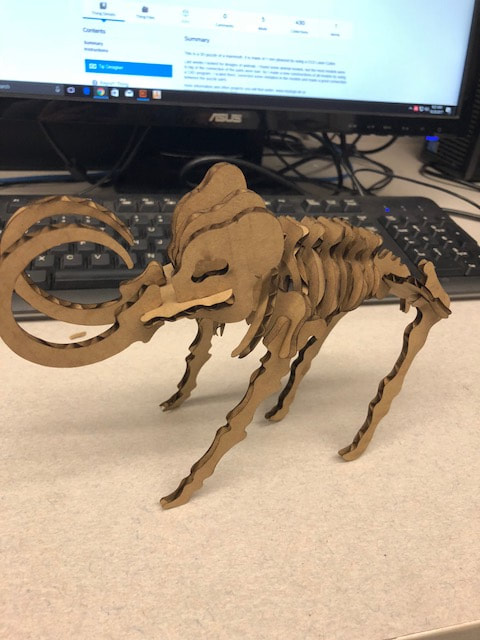
3D ObjectWhen I heard that we had to do a 3D print on the laser I was confused at how that was going to be done. Heard about the website thingiverse, so I went out there to check and see what was all out there. There was some cool concepts. I saw a box, turtle, Star wars ship, but when I saw the mammoth it just kind of stood out to me. I clicked on it and looked at all the pictures that it had on it, and then decided that was going to be the one I was going to do for my project. Downloaded the file for it and moved it to Illustrated and started to change things around to make it work on the laser. Cut it out and it looked amazing.
|
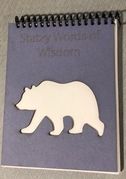
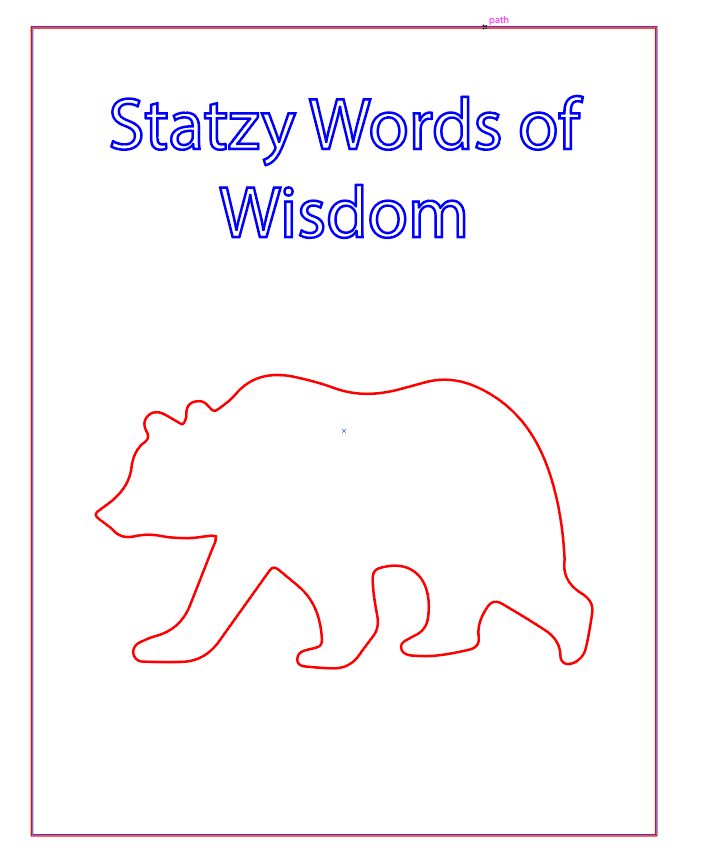
NotebookThe notebook was probably the easiest one for me to do. I thought of my words right away. "Statzy words of wisdom". No idea where it came from but when I opened up the file to start working on the notebook, the words just came to me and I kept it through the whole process. Then I was going to do a number 14 for my cutout process on the notebook, but it wasn't going to work out because the four wasn't going to cutout out the right way. I switched it to an animal then. I choose a bear because whenever I go up to my grandmas house we go out to breakfast and there is a really cool bear on the wall in the inside that always fascinates me.
|
Steps to Completion
|
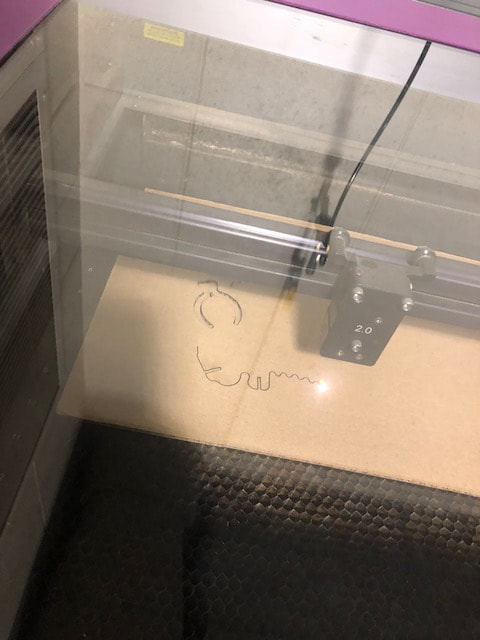
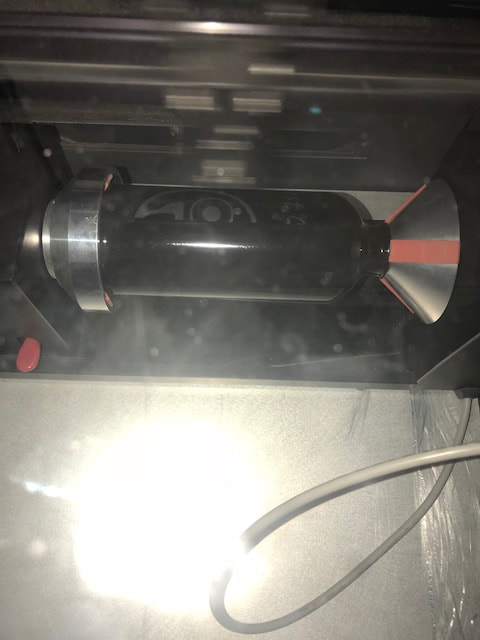
With the laser, the three different projects all got set up mostly the same way besides the water bottle. The water bottle needed to get set up a different way because it used a different jig inside of the laser so it could cut the rounded surface. There is just a different button you have to click on the setup on the UCP that has to be clicked to say rotation jig. Otherwise it was set up the say as the other two. You take your file from Illustrator and move it to the computer that is by the laser. Download it into the UCP. Once it is in the UCP you just move it around to make sure that it will fit on the material that you have inside of the laser. Once that is all set up you can just click the green go button and let the laser do work.
|
|

Summary
In this rotation I learned that you have to budget your time really well. This one just had a little more work to do than the other once since you had three projects to complete in the same amount of time as the other ones. That was no problem to do though since you had other people that already completed the station before that you could ask for help if you got stuck doing anything. Illustrator this time around was not bad because we have been using it for a good amount of time this year already. You just have to create things that you want to use later to, not just create and throw away because that is just a waste of your time. This stuff is cool and can be used in your regular day life.
