How to make a widget
- Open up inventor.
- Click the I in the top left corner, and click new.
- Click "Standard.ipt" then hit create.
- Click the top half of the "Start 2D Sketch" in the top left corner.
- Put your mouse in the spot where it will say that you have the XY Plane selected. Then click it.
- Click the line tool to start drawing your widget.
- Click anywhere in your work area and drag over. Type in the dimension that you need and click enter.
- Keep doing that with the side of the widget that you are creating.
- After you have draw the one side of your widget, click the green "Finish Sketch" in the top right corner.
- Click the "Extrude" button in the upper left side of the screen.
- Put in however far you want your widget to go and the click "OK".
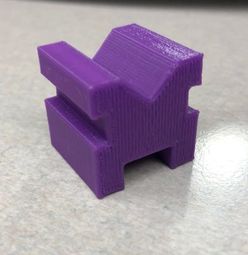
- Your widget is complete now!
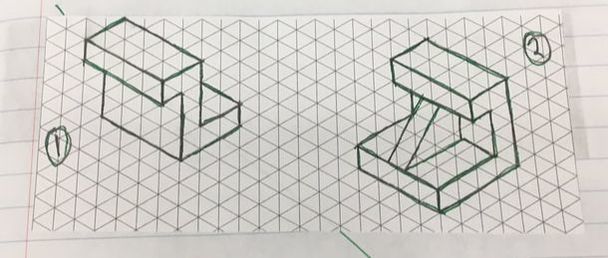
Steps 7-8 Steps 10-11 Completed Widget


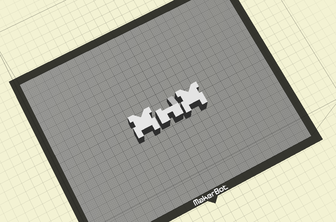
Widgets


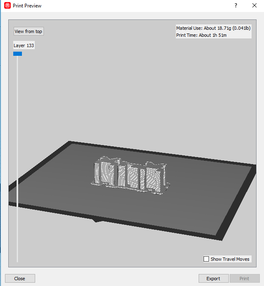
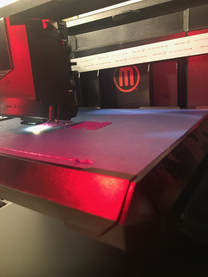
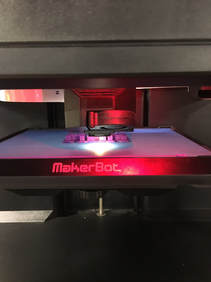
Markerbot/3D-printing
To edit, simply click directly on the text and add your own words to tell the world.
|
|
|
|
Summary of Inventor/3D printing
The 3D printer is a very powerful tool that uses the additive process to make parts that you can later test to see if it will work. It is a simple machine to use. You use inventor to make a part that you can safe and then move it to the 3D printer. This technology is changing the way of parts being build and testing them out to see if they will work without spending a ton of money on it.
